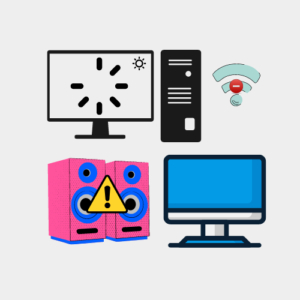
The motherboard is the backbone of your computer, responsible for connecting all the components and ensuring they work together seamlessly.

If your computer is experiencing issues, it’s possible that your motherboard may be the culprit.
Troubleshooting Techniques to Diagnose a Broken Motherboard:
Check for Power:
If your computer is not turning on, the first thing to do is to check is the power supply. Ensure that your power supply is functioning properly and delivering sufficient power to your motherboard.
To check your power supply you can do Two Test:
Test 1 : Checking your power supply with a digital or analog Multimeter:
Test 2 : Using Paperclip to test Power Supply
Check the BIOS:
Your computer’s BIOS contains settings that can affect the performance of your motherboard. Check the BIOS settings and ensure that they are set correctly. If necessary, reset the BIOS to default settings.
Resetting Motherboard Bios to Default Configuration:
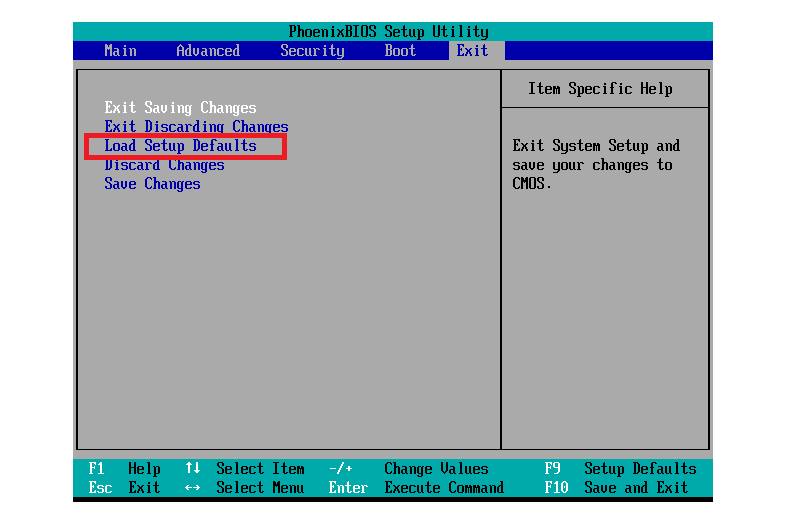
Steps to Follow to Reset Motherboard Bios:
- Power off your computer and unplug it from the electrical outlet.
- Open the computer case and locate the motherboard.
- Look for the BIOS reset jumper on the motherboard. It is usually located near the CMOS battery.
- Remove the jumper from its current position and place it in the reset position. Refer to the motherboard manual for the correct jumper position.
- Leave the jumper in the reset position for a few seconds.
- Put the jumper back to its original position.
- Close the computer case and plug it back into the electrical outlet.
- Power on your computer and access the BIOS screen by pressing the designated key (usually F2 or Delete) during the boot process.
- Navigate to the “Load Default Settings” or “Reset to Default” option using the arrow keys on your keyboard.
- Press the Enter key to confirm the selection.
- Save and exit the BIOS screen to reboot your computer with the default BIOS configuration.
Step 2 : Resetting Motherboard Bios by Removing CMOS Battery:
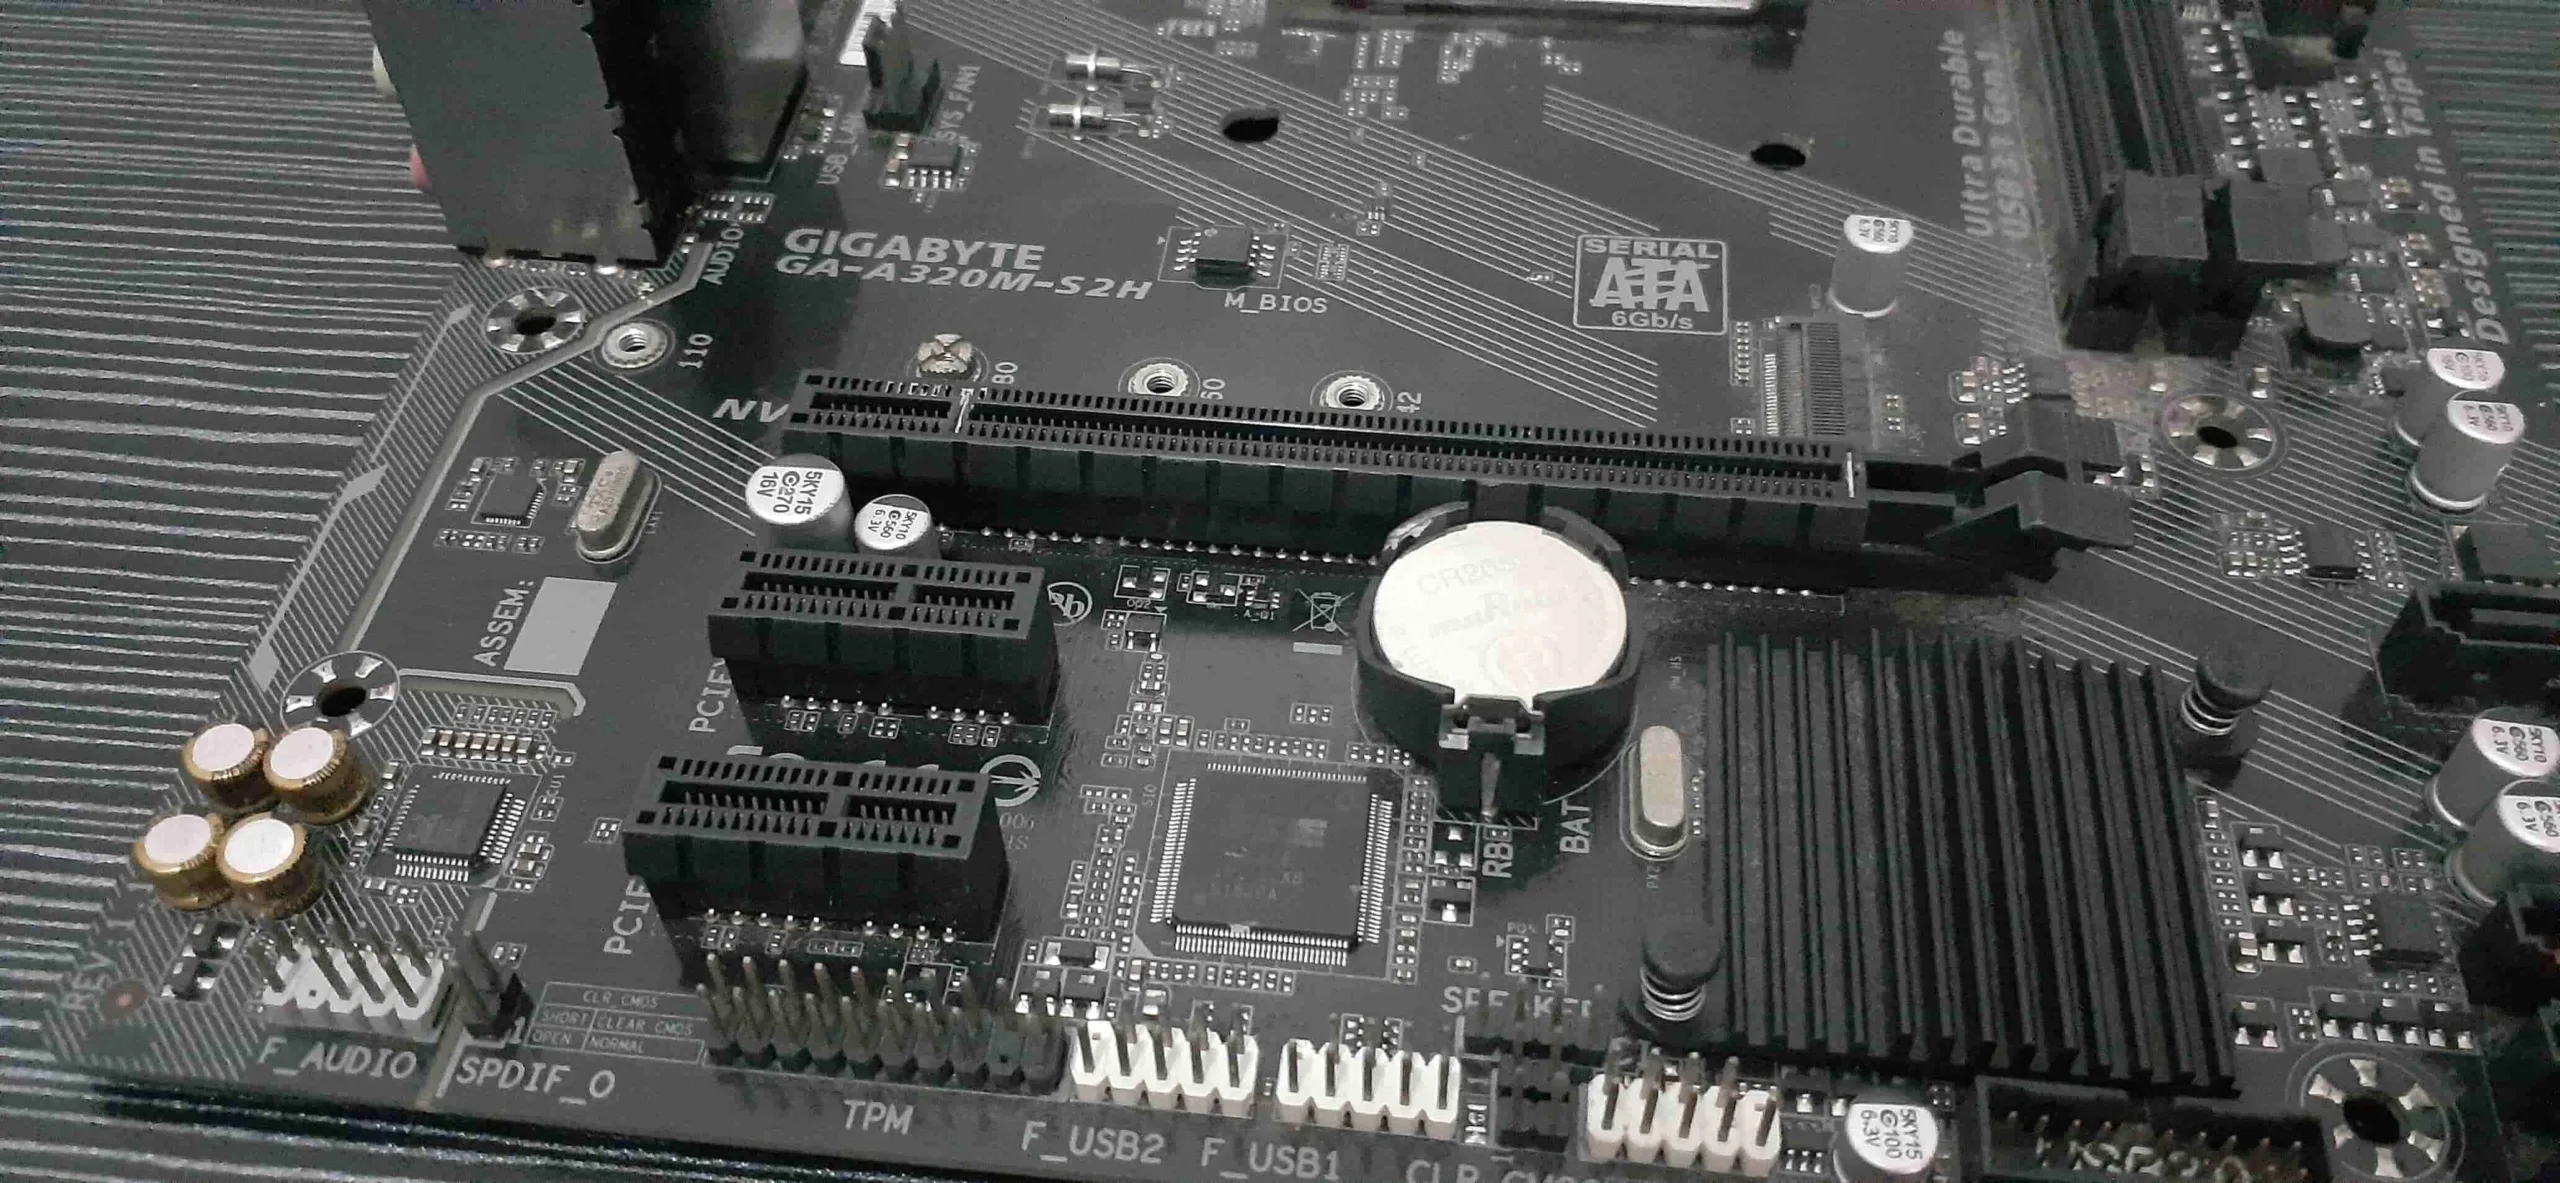
Steps to Follow to Reset Motherboard Bios With CMOS Battery:
- Turn off your computer and unplug it from the power source.
- Open your computer case to access the motherboard.
- Locate the CMOS battery on the motherboard. It’s typically a small, round battery that looks similar to a watch battery.
- Use your fingers or a small tool, such as a flathead screwdriver, to gently remove the CMOS battery from its slot.
- Wait for at least 5 minutes to ensure that all the stored power in the motherboard has been drained.
- Insert the CMOS battery back into its slot.
- Close your computer case and reconnect all cables.
- Turn on your computer and enter the BIOS screen by pressing the designated key during startup. The key varies depending on the manufacturer, so refer to your motherboard manual for the correct key.
- Once you’re in the BIOS screen, look for an option to “Load Default Settings” or “Load Optimized Defaults.” Select this option and press “Enter” to confirm.
- Save the changes and exit the BIOS screen. Your motherboard BIOS has now been reset to its default configuration.
Check the Connections:
Check all the connections between your motherboard and other components, such as the CPU, RAM, and hard drive. Ensure that all connections are secure and properly seated.
Loose Component connections to a motherboard can cause your PC not to boot or do a post test. Make sure to check if your CPU, Ram, Hard drives, or graphics card are all seated properly.
Reseating a CPU to Motherboard:
Properly reseat Your Computers Ram:
Check Power Connectors
When troubleshooting a motherboard its a good practice to check all power connectors that are connected directly to your motherboard.
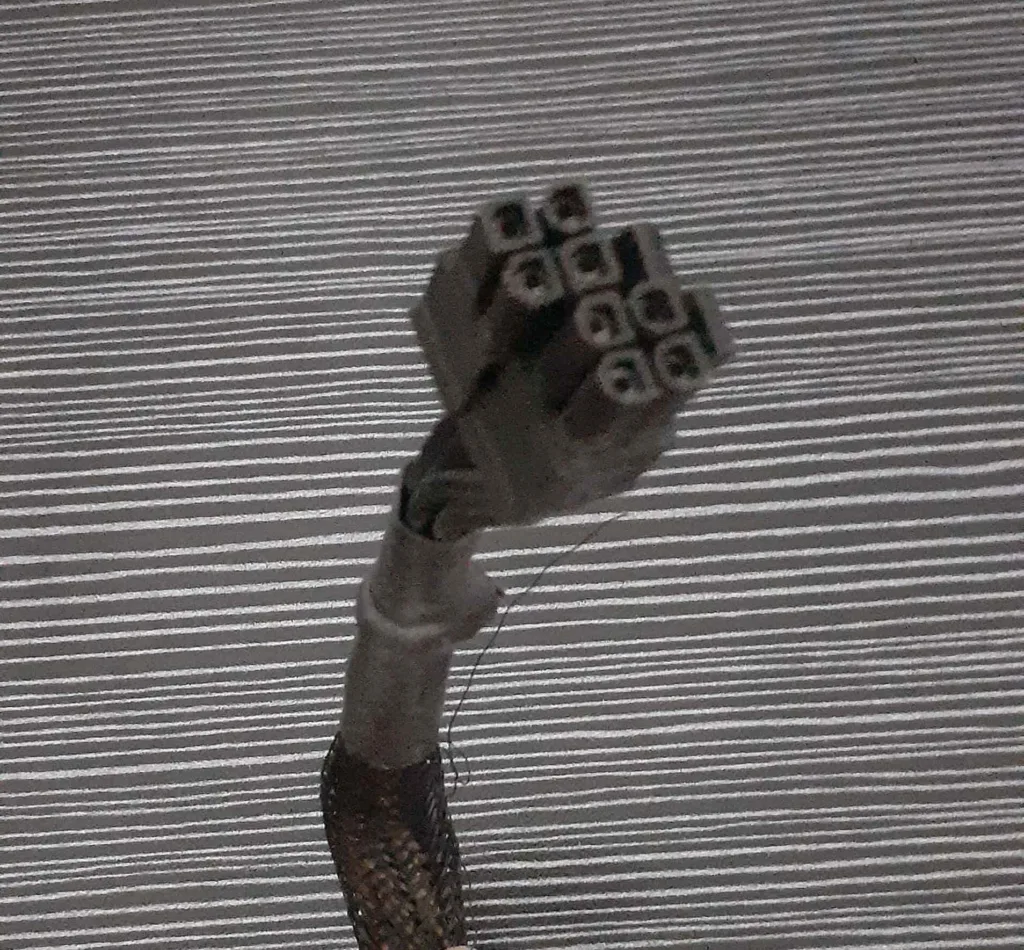
These include the Power pin connectors for the Processor, Motherboard, Graphics Card and Hard Drives.
Power Pin Connectors for Motherboard Components:


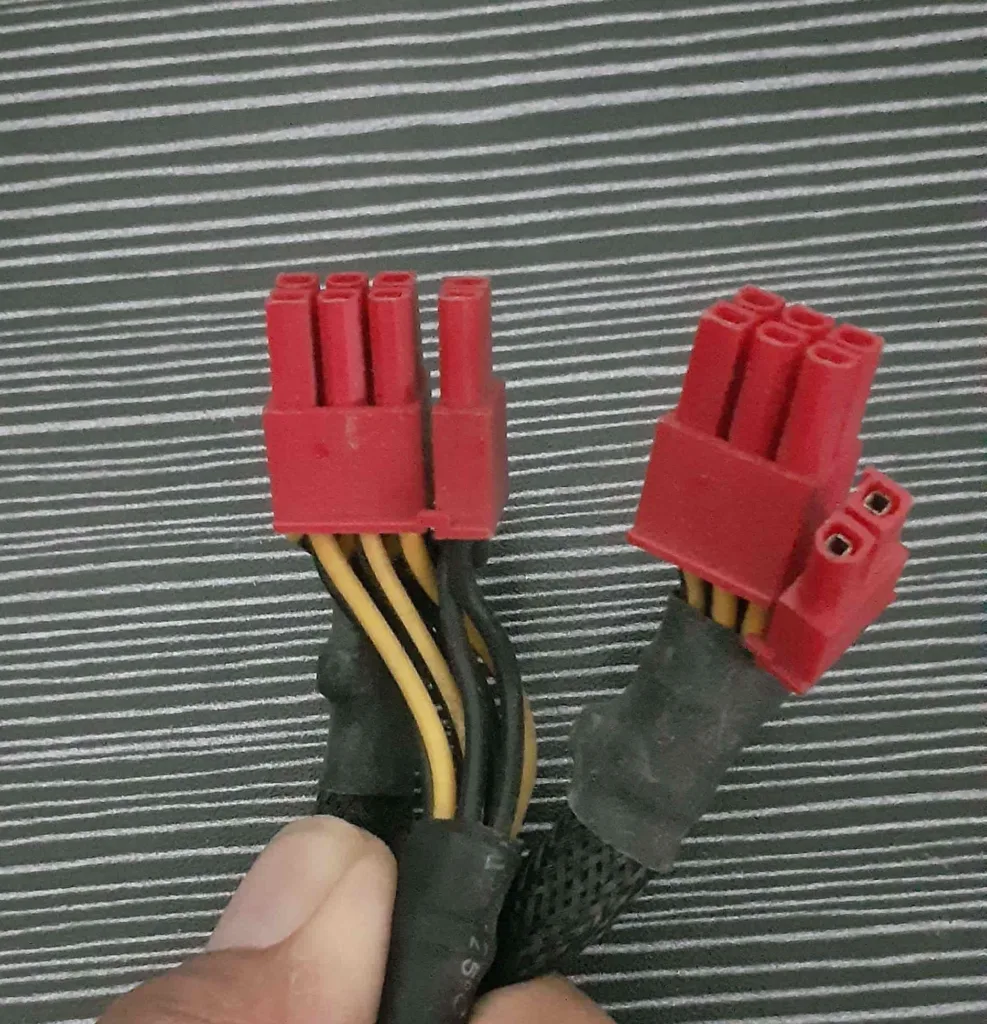
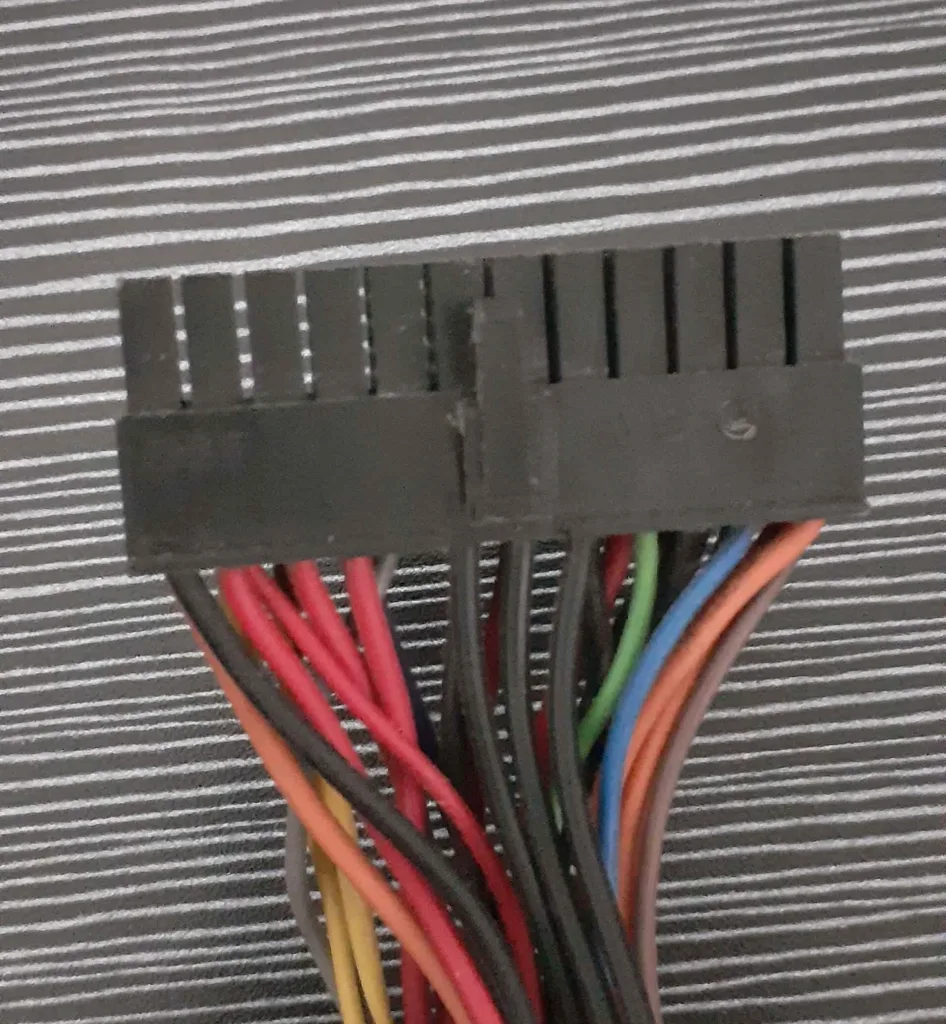
Its usually is a good idea to reseat all poser connectors to make sure that proper power is being supplied to all components.
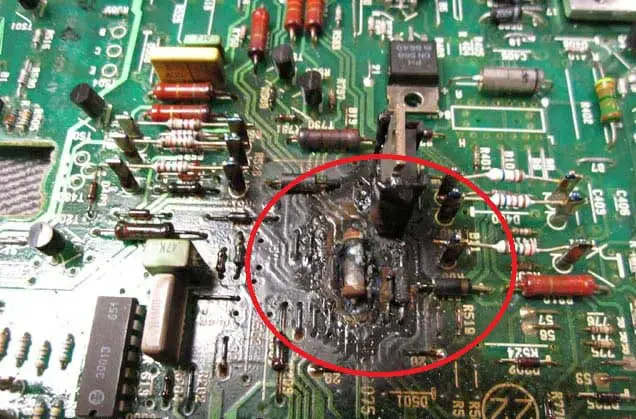
Check for Physical Damage:
Look for any signs of physical damage on your motherboard, such as cracks, discoloration, or burn marks. If you notice any damage, it’s likely that the motherboard will need to be replaced.
Test with Diagnostic Software:
There are several diagnostic software programs available that can help you identify issues with your motherboard.
Here is a list of some of the popular Computer Diagnostics Programs:
- Speccy – free for personal use, paid version for commercial use
- CPU-Z – free for personal and commercial use
- HWiNFO – free for personal and non-commercial use, paid version for commercial use
- CrystalDiskInfo – free for personal and commercial use
- PCMark – free version available, paid version with additional features
- PassMark – free trial available, paid version with additional features
- HWMonitor – free for personal and non-commercial use, paid version for commercial use
- Open Hardware Monitor – free and open-source
- SpeedFan – free for personal and non-commercial use, donation-based for commercial use
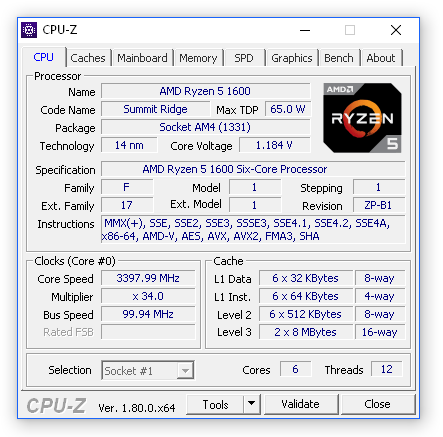
These programs can test the performance of your motherboard and identify any errors or issues.
Use a Multimeter:
A multimeter can be used to test the voltage levels on your motherboard.
This can help identify issues with the power supply or other components that are affecting the performance of your motherboard.
How to Use a Multimeter:
Step 1:
Safety First Before starting any electrical measurement, you must ensure your safety.
Switch off the circuit you intend to measure and verify that it is not live.
Make sure that the leads are in good condition and not frayed.
Step 2:
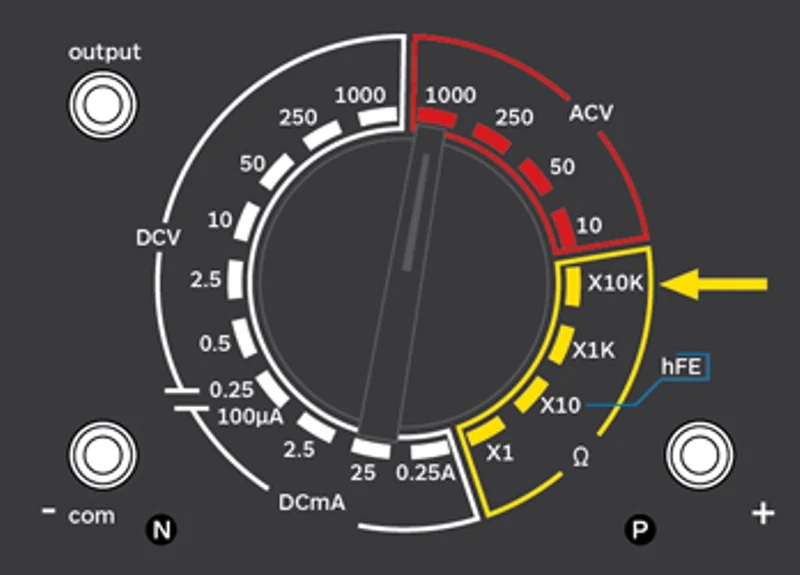
Set the multimeter to the correct function A multimeter can measure different electrical values, so you need to set it to the correct function for your measurement.
For example, to measure voltage, set the multimeter to the voltage function. To measure resistance, set the multimeter to the resistance function.
Step 3:
Set the range The range setting on a multimeter allows you to select the highest value that you want to measure.
For example, if you are measuring voltage, set the range to a value that is higher than the expected voltage.
For example, if you expect the voltage to be around 9 volts, set the range to 20 volts.
Step 4:
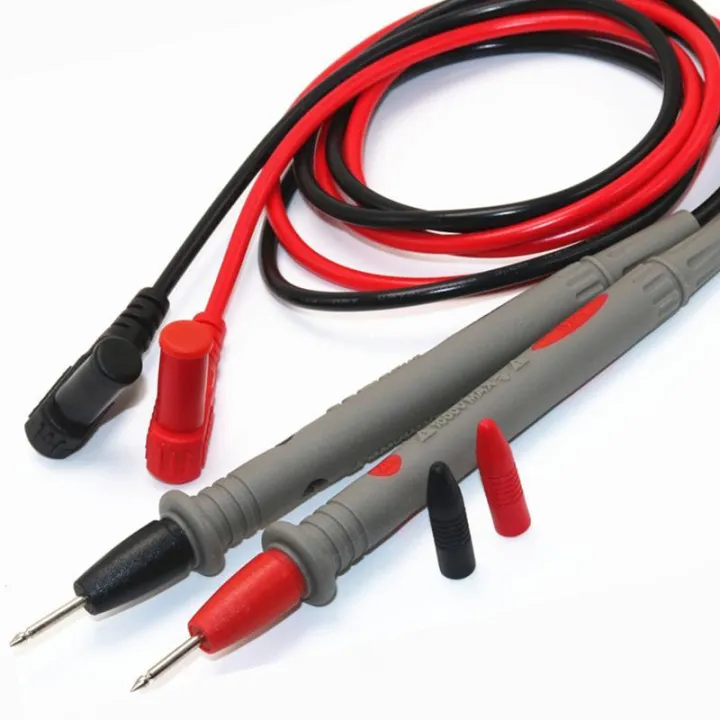
Connect the leads Connect the black lead to the COM jack and the red lead to the jack labeled VΩmA (for voltage, resistance, and current measurement) or the jack labeled A (for current measurement).
Step 5:
Connect the leads to the circuit Connect the leads to the circuit you want to measure.
Voltage measurements, connect the leads in parallel across the voltage source or component.
For current measurements, connect the multimeter in series with the circuit component you want to measure.
For resistance measurements, disconnect power to the circuit, and connect the multimeter to the component to be measured.
Step 6:
Take the measurement Once the leads are connected, you can take your measurement.
If you are measuring voltage, read the value on the multimeter’s display. For measuring current, the multimeter must be placed in series with the circuit to measure the current.
If you are measuring resistance, the resistance value will appear on the display.
Step 7:
Turn off the circuit After taking your measurement, switch off the circuit, and disconnect the leads from the circuit.
Step 8:
Turn off the multimeter Turn off the multimeter and disconnect the leads. Make sure to put the multimeter back in its case or storage location.
Using a multimeter is a simple process. However, it is important to understand the basics of the tool and the electrical system you are working with to ensure your safety and accuracy of the measurements.
Remove Components:
If you’re experiencing issues with your motherboard, it’s possible that a malfunctioning component is causing the problem.
This technique can be used by any user whether new or a veteran to troubleshoot a broken motherboard.
To troubleshoot this issue, you can try removing one component at a time and see if the problem still occurs.
By doing this, you can identify which specific component is causing the issue.
For example, if your computer isn’t booting up properly, you can try removing one component, such as the RAM or graphics card, and then try booting up the computer again.
If the issue persists, you can try removing another component until you identify the culprit.
Once you have identified the problematic component, you can either replace it or try repairing it if possible.
It’s important to note that if you’re not comfortable opening up your computer or handling its components, it’s best to seek the help of a professional technician.
Conclusion:
If you’ve tried these techniques to troubleshoot a broken motherboard and your motherboard is still not functioning properly, it may be time to replace it.
For DIY repair and Upgrades read this article: Tips for DIY Computer Repair : Do-it-Yourself Computer Repair and Upgrade Tips for Beginners
A malfunctioning motherboard can cause serious performance issues and impact the overall functionality of your computer.
Prioritizing maintenance and taking steps to prevent damage to your motherboard can help prolong its lifespan and prevent the need for costly repairs.