Saltar al contenido
Hard Disk Repair
In this article, we will explore how HDD repair works, including the most common types of faults and the techniques used to diagnose and fix them.
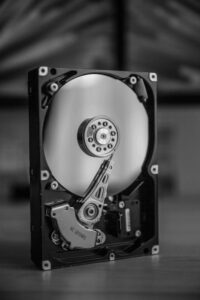
Hard disk drives (HDDs) are a crucial component of modern computing systems. They are responsible for storing large amounts of data, including operating systems, applications, documents, music, videos, and other types of digital content.
Over time, however, HDDs may develop various types of faults that can lead to data loss or system failure.
Types of HDD faults
Before delving into the details of HDD repair, it is essential to understand the different types of faults that can occur in an HDD. Here are some of the most common ones:
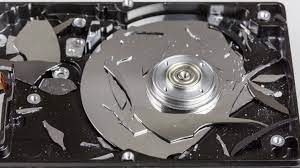
Physical damage
This can include scratches, dents, or broken components inside the HDD. Physical damage can occur due to mishandling, dropping the device, or other accidents.
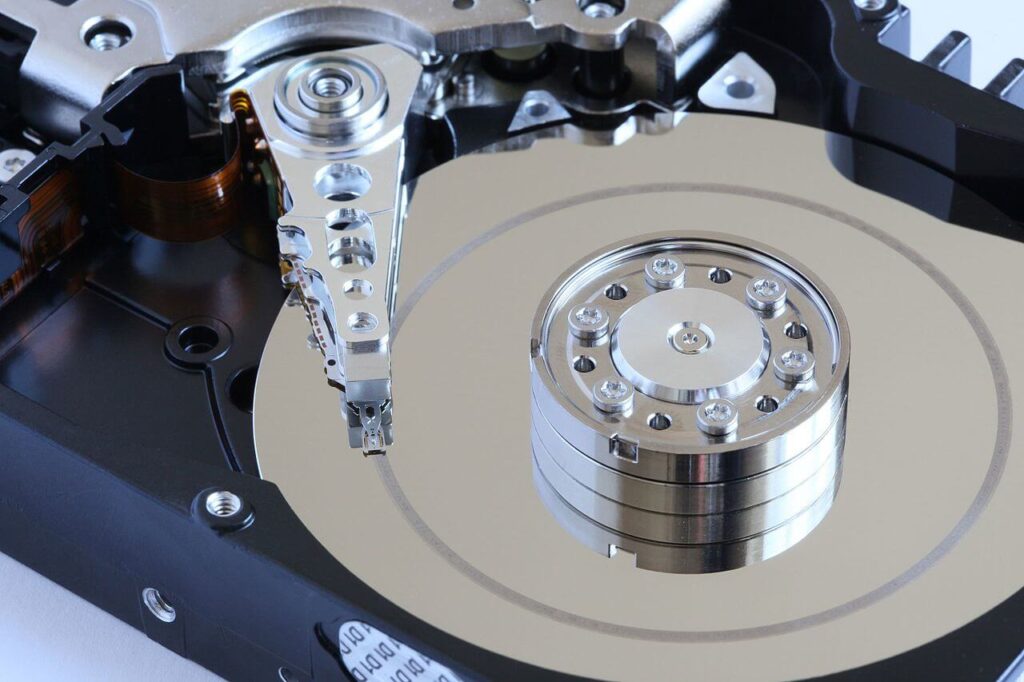
Hard Disk Head Crash
Electrical damage
This can occur due to power surges, lightning strikes, or other electrical issues. Electrical damage can cause the HDD to fail to power up or produce unusual noises.
Logical damage
This can occur due to file system errors, virus attacks, or other software-related issues. Logical damage can lead to data corruption or loss, slow performance, or system crashes.
Diagnosing HDD Faults
To repair an HDD, the first step is to diagnose the fault. This can involve various techniques, depending on the type of fault and the symptoms it produces. Here are some of the most common diagnostic techniques used in HDD repair:
Visual Inspection
This involves examining the HDD’s exterior and interior components for signs of physical damage, such as scratches, dents, or broken parts.
Listening Test
This involves powering up the HDD and listening for unusual noises, such as clicking, buzzing, or grinding sounds. These noises can indicate mechanical or electrical faults.
Data Recovery Software
This involves using specialized software tools to scan the HDD and recover lost or corrupted data. This can be useful in cases of logical damage.
Here are a list of Data Recovery Software:
- EaseUS Data Recovery Wizard
- Recuva
- Stellar Data Recovery
- Disk Drill
- TestDisk
- R-Studio
- Ontrack EasyRecovery
- MiniTool Power Data Recovery
- GetDataBack
- PhotoRec
Hardware Diagnostic Tools
This involves using specialized hardware tools to test various components of the HDD, such as the read/write head, spindle motor, or control board.
HDD repair techniques
Once the fault has been diagnosed, the next step is to repair the HDD. The repair technique will depend on the type of fault and the severity of the damage. Here are some of the most common HDD repair techniques:
Head Replacement:
This involves replacing the read/write head of the HDD. This can be necessary in cases of physical damage, where the head has been scratched or broken.
Platter Replacement:
This involves replacing one or more platters of the HDD. This can be necessary in cases of physical damage or in situations where the platters have developed bad sectors or other defects.
PCB Replacement:
This involves replacing the control board of the HDD. This can be necessary in cases of electrical damage, where the board has been fried due to power surges or lightning strikes.
Data Recovery:
This involves using specialized software tools or services to recover lost or corrupted data from the HDD. This can be useful in cases of logical damage, where the file system or other software components have been corrupted.
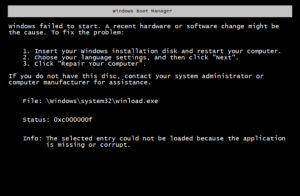
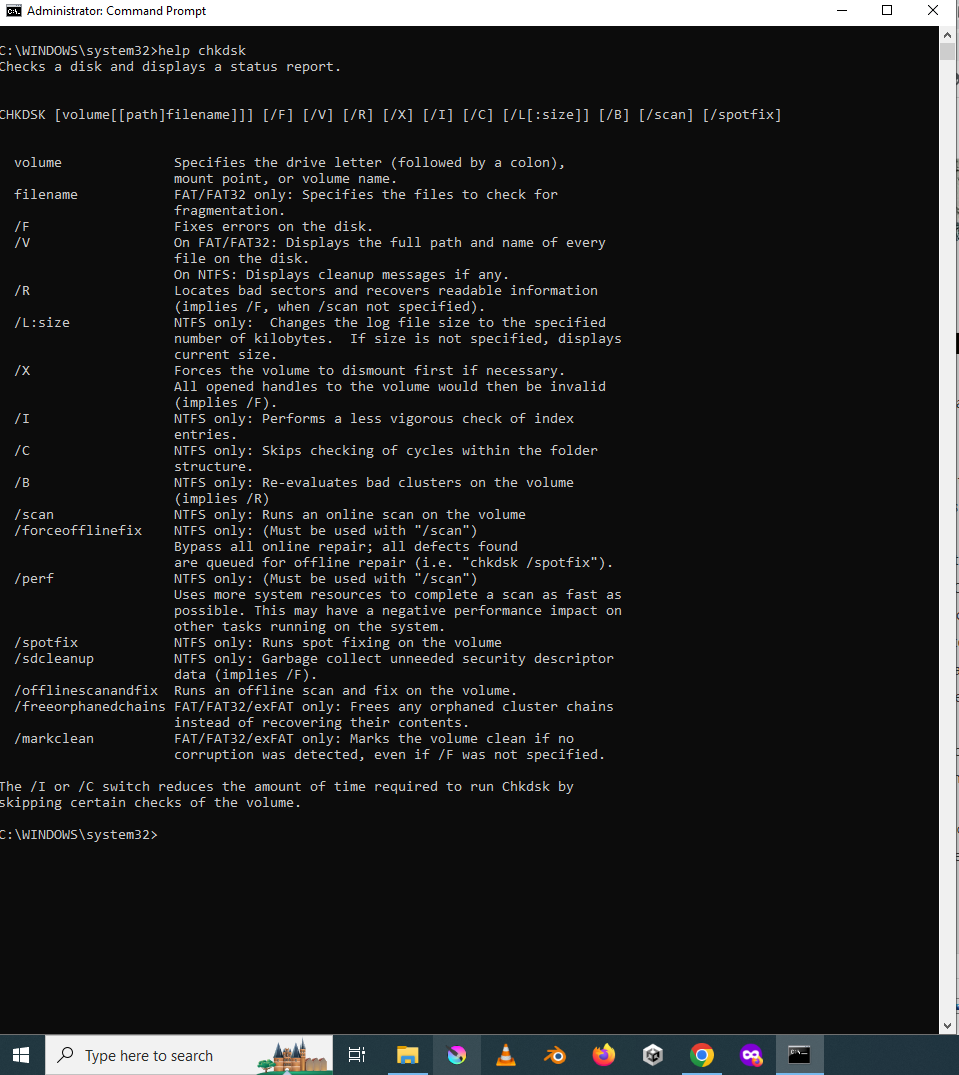
Using Windows Command Prompt for HDD Repair
The chkdsk command is a Windows command used to check the file system and disk surface of a hard drive for errors, and to repair them if possible. Here’s how to use it:
- Open a Command Prompt window as an administrator. To do this, click the Start button, type “cmd” in the search box, right-click on “Command Prompt,” and select “Run as administrator” from the context menu.
- In the Command Prompt window, type
chkdskfollowed by the drive letter of the hard drive you want to check. For example, if you want to check drive C, typechkdsk C:and press Enter. - If you want to repair any errors found during the check, add the
/fswitch to the command. For example, to check and repair drive C, typechkdsk C: /fand press Enter. - If you want
chkdskto locate bad sectors on the drive and recover readable information, add the/rswitch to the command. For example, to check and repair drive C, and recover readable information from bad sectors, typechkdsk C: /rand press Enter. - The
chkdskcommand will start the checking and repairing process. Depending on the size of your hard drive and the speed of your computer, this may take a while to complete.
Note: Running chkdsk with the /f or /r switch will require a restart of your computer in order to complete the repairs. If you are currently using the hard drive you want to check, you will be prompted to schedule the disk check to run the next time you restart your computer.
Advance Chkdsk Commands
Here are some advanced chkdsk commands that you can use in addition to the basic commands mentioned earlier:
/x– This command is used to force the volume to dismount first, if necessary. All open handles to the volume are then invalid, and chkdsk performs the checking and repairing process./c– This command skips the checking of cycles within the folder structure, reducing the time it takes to run the command./i– This command instructs chkdsk to perform a less vigorous check of index entries, reducing the time it takes to run the command./l[:size]– This command changes the size of the file that logs chkdsk activity. By default, this file is located in the Windows folder and namedchkdsk.log. The default size is 65536 KB (64 MB). You can specify a different size, up to a maximum of 4294967295 KB (4 GB)./b– This command reevaluates all clusters marked as bad, and recovers the readable information./scan– This command scans the drive without attempting any repairs. It is useful when you want to determine if there are any errors present on the drive without making any changes./perf– This command instructs chkdsk to display performance statistics, which can be useful for analyzing the efficiency of the disk checking and repairing process.
To use these advanced chkdsk commands, simply add the desired command after the drive letter and any other switches you have used. For example, to use the /x and /b commands together, you would type chkdsk C: /x /b and press Enter.
How to Recover Permanently Deleted Files in Windows 10
Conclusion
HDD repair is a complex and challenging process that requires specialized knowledge, tools, and expertise.
It is essential to diagnose the fault accurately and choose the appropriate repair technique to avoid further damage to the device or data loss.
While some simple faults, such as logical errors, can be fixed with software tools, more severe faults, such as physical or electrical damage, may require professional repair services.
As always, it is crucial to maintain regular backups of your data to prevent permanent data loss in case of HDD failure.